List Current Asset ID
Last Updated: 17 Dec 2015
Listing assets within Squiz Matrix expose a list_current_asset_id session variable, containing the asset ID of a currently listed asset. This variable can be utilised on nested Asset Listing Pages to display additional information from the children of listed assets. Examples of this concept are outlined below.
Example: Listing Related Images
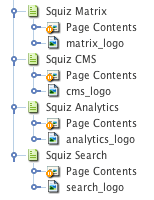
The assets to be listed
The list_current_asset_id session variable can be used to display corresponding Images alongside listed assets on an Asset Listing.
In this example, we are listing information on a range of Squiz Suite products. Each of these products is a Standard Page asset that contains a child Image asset of the product logo, as shown in the figure to the right. We want to include these logo images alongside our assets in the Asset Listing.
- Create an Asset Listing Page under your Site. This will be our Parent Listing.
- Configure the Parent Listing to list your product Standard Page assets.
- Now, create a new Asset Listing Page. This will be our Child Listing. You can create this asset anywhere in your system.
- Configure the Child Listing to list the logo Image assets.
- Create a new Dynamic Parameter on the Child Listing of type Replacement Root Node for the listing with the session variable list_current_asset_id.
- In the Default Format Bodycopy of the Child Listing, edit the item format so that your images are displayed on the listing, for example, using the keyword replacement.
-
Now that both listings are configured, we need to nest the Child Listing within the Parent Listing.
In the Default Format Bodycopy of the Parent Listing, create a new content division of type Nest Content. Nest the Child Listing in this division, as shown in the figure below.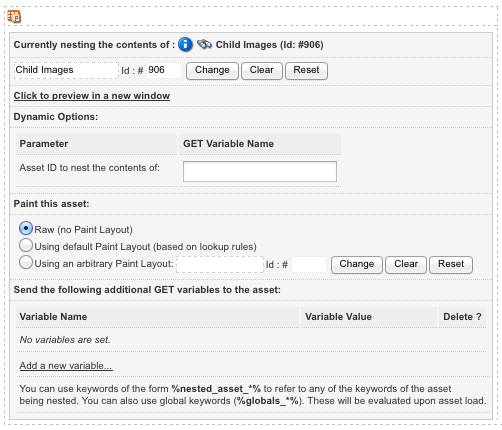
Nesting the Child Asset Listing Page
The Parent Listing will now contain the logo Images for each product asset.
You can modify the Default Format Bodycopy of the Parent Listing, including the location of the Child Listing within this format, to configure the layout of your Images and product Standard Pages on the Asset Listing Page. An example layout is shown in the figure below.
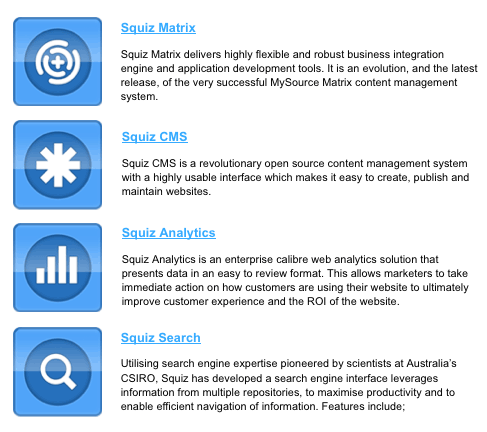
The Asset Listing Page displaying the product logo Images
Tip: Use this example as a basic concept to create more complex listings, displaying multiple images for listed assets over a number of levels.
Example: Advanced Grouping
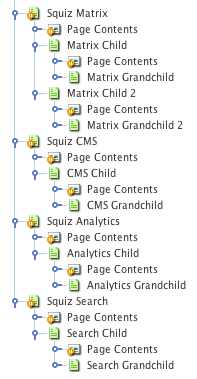
The assets to be listed
The Asset Listing Page's grouping options allow you to list assets under a number of specified groups, over multiple levels. However, these options can be restrictive and don't allow for individual group level formatting.
The list_current_asset_id session variable can be used to create asset groups with more advanced options, such as formatting the individual group levels and displaying grouped assets as list items.
In this example, we are listing information on a range of Squiz Suite products. Each of these products is a Standard Page asset that contains a child and grandchild assets, as shown in the figure to the right. We want to include these assets as a unordered list on our Asset Listing.
- Create an Asset Listing Page under your Site. This will be our Top Level Listing.
- Configure the Top Level Listing to list the Standard Page assets under your site.
- Now create a new Asset Listing Page. This will be our Second Level Listing. You can create this asset anywhere in your system.
- Like our Top Level Listing, configure the Second Level Listing to list the Standard Page assets under your site.
- Create a new Dynamic Parameter on the Second Level Listing of type Replacement Root Node for the listing with the session variable list_current_asset_id.
-
Now that both listings are configured, we need to nest the Second Level Listing within the Top Level Listing.
In the Default Format Bodycopy of the Top Level Listing, create a new content division of type Nest Content. Nest the Second Level Listing in this division, as shown in the figure below.
The Top Level Listing will now contain the child assets for each product asset.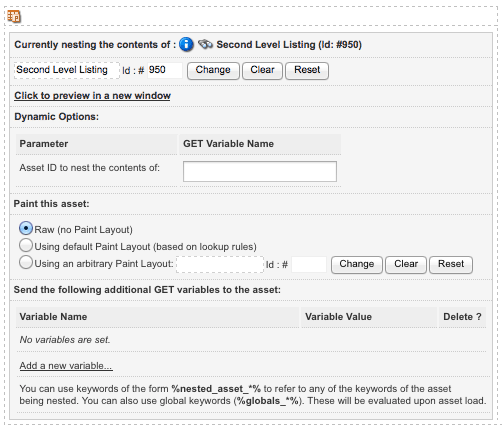
Nesting the Second Level Listing -
Repeat the above steps to nest a Third Level Listing (configured with the list_current_asset_id session variable) within the Second Level Listing. This will effectively add another level to our Top Level Listing, as shown in the figure below.
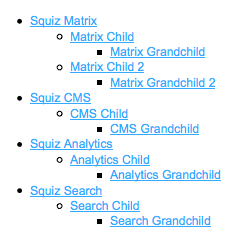
The Asset Listing Page displaying the three levels of assets
You can modify the Default Format Bodycopies of your listings to configure the information shown for each level of the listing. An example layout is shown in the figure below. In this example, we have added additional assets to the third level of our listing to display the features of our products.
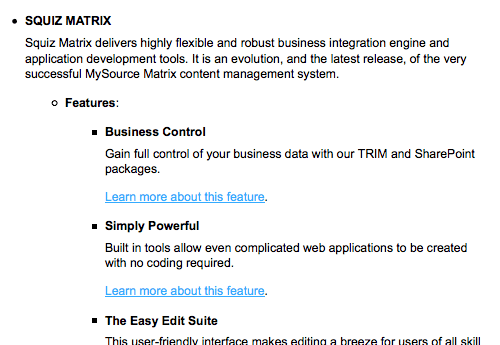
Formatting the individual levels on the Asset Listing
Tip: Use this example to create more complex listings with additional group levels and formatting.
