
Edit+ for Squiz Matrix
Last Updated: 05 Feb 2021
edit+|feature|6.0.0
Edit+ offers a user-friendly interface within Squiz Matrix, allowing users with little or no training to update the content of a Site.
By default, these are some of the common tasks can be performed in the Edit+ interface:
- Create a variety of page and file assets.
- View and navigate your Site, either by using the Asset Finder or within the Preview Mode interface.
- Edit the general settings and contents of assets including personalised content.
- Edit the metadata of assets.
- Control Workflow, approving or rejecting changes made to assets, and viewing the Workflow status and logs.
- Manage location links (add, delete, & move) and select which links appear in the navigation menu.
- Edit the web paths of assets, (change their URLs).
- View analytics data and information about a current page or the whole site.
- Move assets to the Trash.
- Use the Contexts feature to edit content for different languages.
Accessing Edit+
You can access Edit+ by appending /_edit onto the end of the URL of the page you are currently viewing. For example, if you are viewing a page with the URL http://www.example.com/contact_us, adding the suffix /_edit onto the end of the URL will allow you to access Edit+.
If you are not already logged in, a login box will appear on the screen.
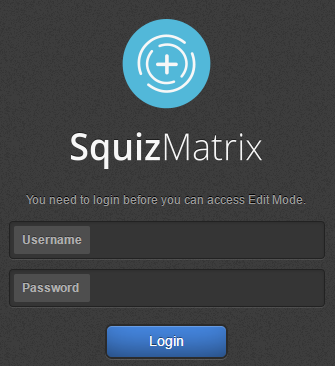
Enter your username and password and click Login.
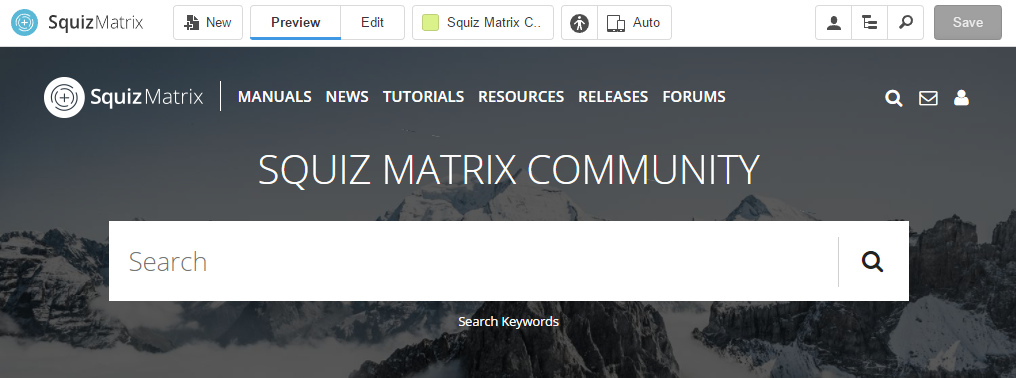
The Edit+ Toolbar
When Edit+ is accessed, a tool bar will appear at the top of the page.
Creating a New Asset
To create a new asset, click on the Create New Asset button. The Asset Creation Wizard pop-up will appear where you can select which asset to create.
For more information on the Asset Creation Wizard, refer to the Asset Creation Wizard chapter in this manual.
Mode Switcher
The Mode Switcher allows you to switch between the Preview and Edit modes in Edit+.
By default, when you first access Edit+, you will be viewing your Site in Edit Mode. The default mode can be customised per user group.
Preview Mode allows you to view the current asset and navigate around the Site, as you would normally. Once you are viewing the asset you wish to edit, selecting Edit in the Mode Switcher will switch you to Edit Mode for that particular asset.
The Edit Mode interface will vary depending on the type of asset that is being edited. For more information on Edit Mode, refer to the Edit Mode chapter.
Asset Information
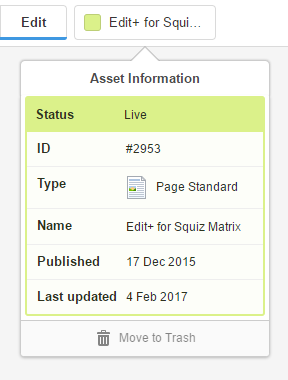 The Asset Information section of the tool bar allows you to quickly view the information on the asset that is currently being viewed.
This pop-up provides a summary of the asset currently being viewed.
The pop-up also allows you to mark an asset for trashing by clicking the Move to Trash button. Clicking this button will load the Linking screen for the asset, with the location links of the asset marked for trashing. Saving this change will send the asset to the trash.
For more information on trashing and linking, refer to the Linking Screen chapter.
User Details / Exit Edit+
The User button displays information on the currently logged-in user and allows you to exit the Edit+ interface.
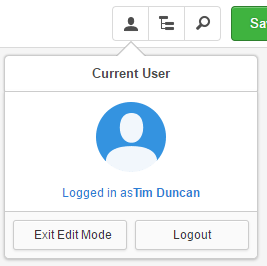
The Exit Edit Mode option will exit the Edit+ interface and reload the current page (removing /_edit on the current URL), however, you will still be logged into the system.
The Logout option will exit Edit+ and log you out of the system before reloading the current page.
When you exit or log out of Edit+, all locks on the current asset are released automatically.
Asset Finder
The Asset Finder button loads the Asset Finder tool which lets you navigate the assets within your Site.
For more information, refer to the Asset Finder chapter.
Search
The Search tool allows you to find assets within your system by either keyword, asset ID or URL, returning a list of matching results.
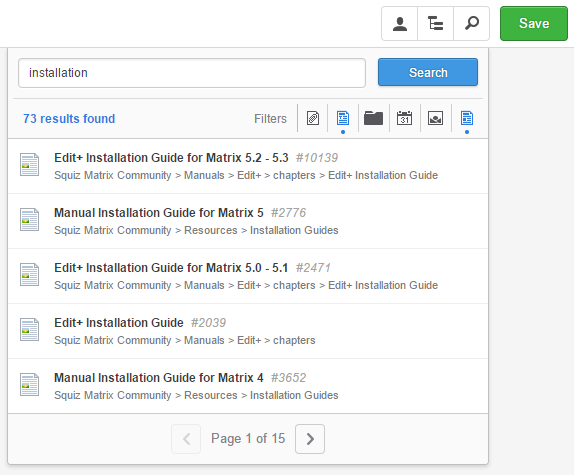
You can use various filters to refine the results of your search. Clicking on a filter will only display search results of that specified asset type.
Clicking an asset in the search results will redirect you to the editing screen for that asset. You can also choose to show an asset's location within the Asset Finder by clicking the Show in Asset Finder button for an asset.
Context Switcher
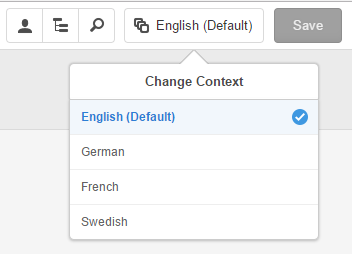 The Context Switcher allows you to change to a different context configured on your system. Clicking on this button will open the Change Context pop-up, listing the available contexts in your system.
Clicking on an available Context option will reload the interface and switch you into the selected Context.
For more information on the concept of Contexts, refer to the Contexts manual.
The Context Switcher will only be displayed if this functionality is configured and enabled on your Edit+ installation. See the Managing Contexts chapter for further information.
Saving Your Content
The Save button allows you to save any changes made on the current screen.
When an asset is modified, the Save button will turn green, indicating that there are changes to be saved.
Preview Mode
When using the Mode Switcher to switch to Preview Mode, the toolbar will show you a few more buttons.
These buttons allows to you change the way that Preview Mode displays the current front-end page.
Compare to Live
When an asset has a Status of Safe Edit, an additional Compare to Live button will appear in Preview Mode. This option allows you to compare the current Safe Edit version of an asset against its Live version (or last published version).
Clicking this button will refresh and display any content that has been deleted (highlighted in red) and/or any new content added to the asset (highlighted in green).
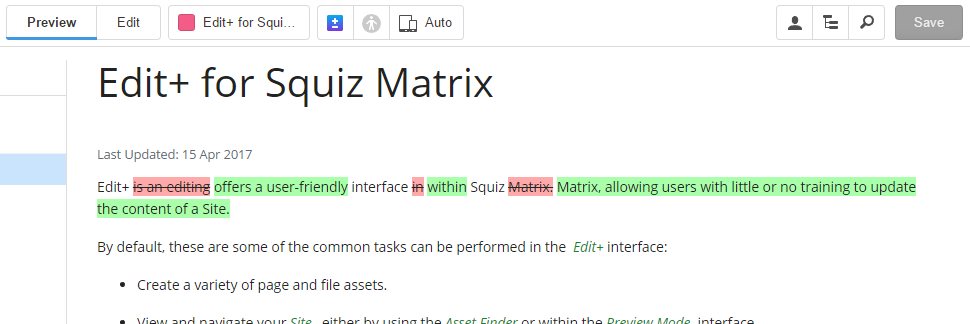
Clicking the button again will reload the preview again with the comparison tool turned off.
The Accessibility Auditor
The Show Accessibility Auditor button opens the Accessibility Auditor, a tool that runs an audit against the contents of the currently viewed asset, reporting any found accessibility issues.
For more information, refer to the Accessibility Auditor chapter.
Screen Size
The Screen Size button allows you to preview the asset in a specific screen size from a list of pre-configured options.
This tool is useful when creating sites with responsive designs, allowing you to author and preview your assets in a variety of different device screen sizes.
To switch screen size, click on this button, select the screen size you want to preview, and then click the Update Preview button.
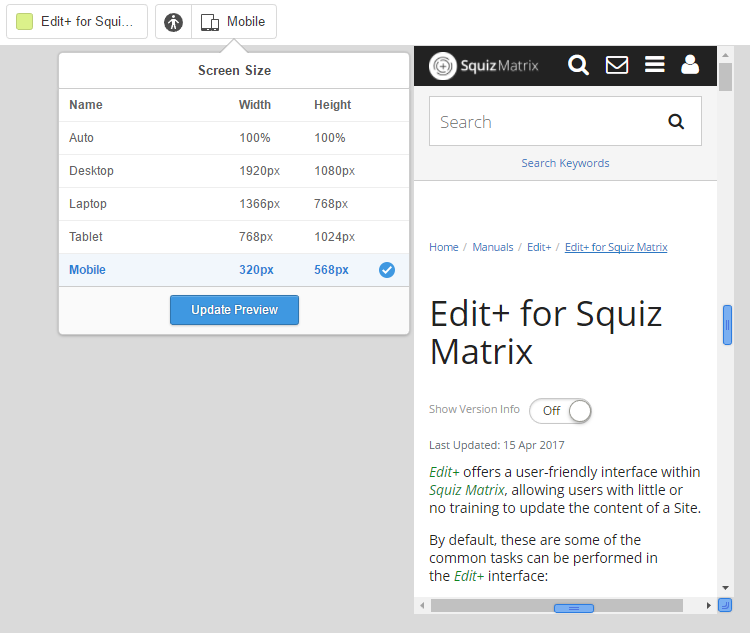
You can also use the drag handles on the right, left, and bottom-right corner to manually drag the preview to a particular size.
For more information on configuring the screen size options available to you, refer to the Global Preferences chapter in the System Configuration manual.
Variation Switcher
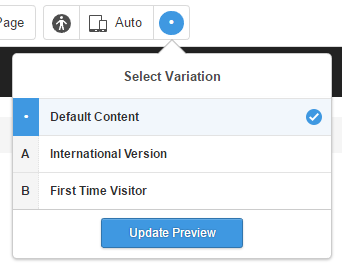 If you have Variations created on your page, this tool will become available toolbar. It lets you preview the page with a specific Variation active so that you can get an idea of what the page will look like for users that are in the Persona that is applied to the Variation.
By default, the Default Variation will be used in the preview and is the version that users will see if they do not fall under any of the Personas that are applied to the Variations on the current page.