Setting Up Google Analytics
Last Updated: 28 Jun 2023
As of July 1st, 2023, the Google Analytics Connector and Google Analytics View in Matrix 5 Edit+ will no longer be compatible with or support Google Universal Analytics (UA). This is due to the announcement by Google that its next-generation analytics platform, Google Analytics 4 (GA4), will replace the Universal Analytics (UA) properties on July 1, 2023.
This entire manual refers to a feature that was added in version 5.1.0
This guide will explain how to establish a connection with a Google Analytics application on your Squiz Matrix system, and integrate this connection with you Edit+ for Squiz Matrix installation.
This guide assumes you already have a Google Analytics account set up with some analytics data populated from your site.
In order to integrate your system with Google Analytics, you will need to configure a project in your Google APIs Developer Console to allow your system to access the API credentials. For more information on creating and managing projects on your developer console, view the Google APIs Console Help documentation.
When configuring your project, please ensure the following:
- The Analytics API has been enabled on the APIs screen.
- You have created a new OAuth Client ID of type Web Application on the Credentials screen, inputting the root URL of your system in the 'Authorized JavaScript Origins' field and the URL of your Google Analytics Connector in the 'Authorized redirect URI' field.
To establish a Google Analytics connection on your system:
- Create a Google Analytics Connector asset.
- On the Details screen, enter the ID and Secret provided to you by Google (your project on the Google APIs Console) in the Client ID and Client Secret fields. Click Commit.
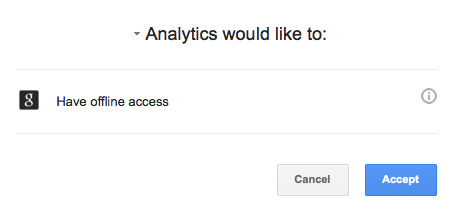
- Preview the Google Analytics Connector asset in the front end; you will be redirected to Google for authentication.
Upon successful authentication, the details of the access token will be displayed on the Details screen of the Google Analytics Connector asset.
Authorising the Google Analytics connection - In the Views section of the Details screen, a list of available views will be displayed. Select the view you want to create from this list and enter a name for the view in the View Asset Name field. Click Commit.

A list of available views - A Google Analytics View asset will be created in your system as a child asset of the Google Analytics Connector. You can use this asset to display reports and summaries of the data of your site.
Once you have established a connection with your Google Analytics application and created a Google Analytics View asset, you are able to integrate this connection with your Edit+ for Squiz Matrix installation to provide analytics data within Edit+.
In your Edit+ for Squiz Matrix configuration file, add the following configuration option:
analyticsViewId:<view_id>So, for example, if the asset ID of your Google Analytics View asset is #1250, you would set this configuration option as follows:
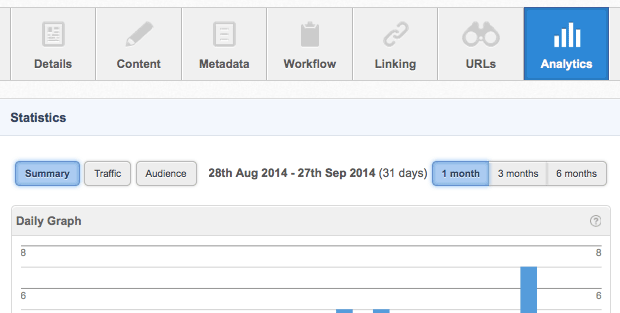
analyticsViewId: 1250 When your Google Analytics connection has been correctly integrated with Edit+ for Squiz Matrix, a new Analytics screen will be made available for your assets, displaying the analytics data of your assets.

The Analytics Screen
For more information on the data available on this screen, refer to the Analytics Screen chapter in the Edit+ for Squiz Matrix manual.
